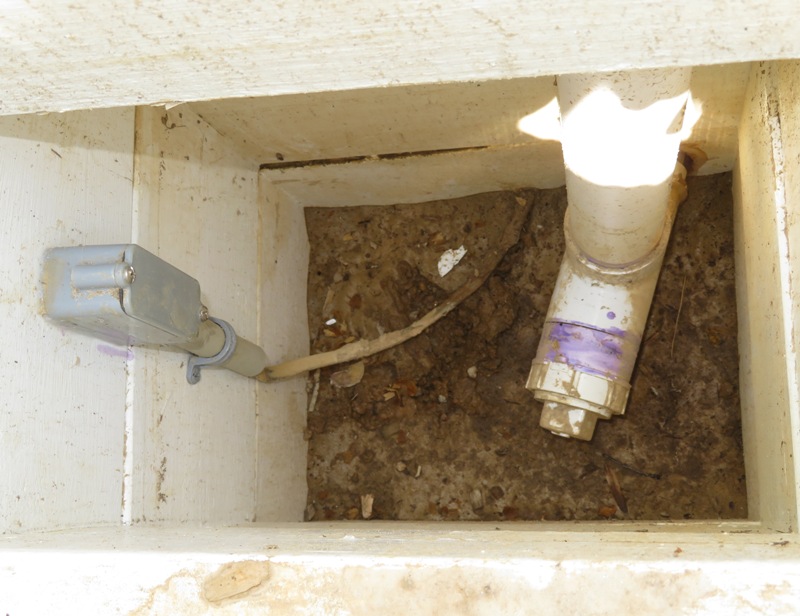
At the well, I ran the electric line through half inch PVC conduit.
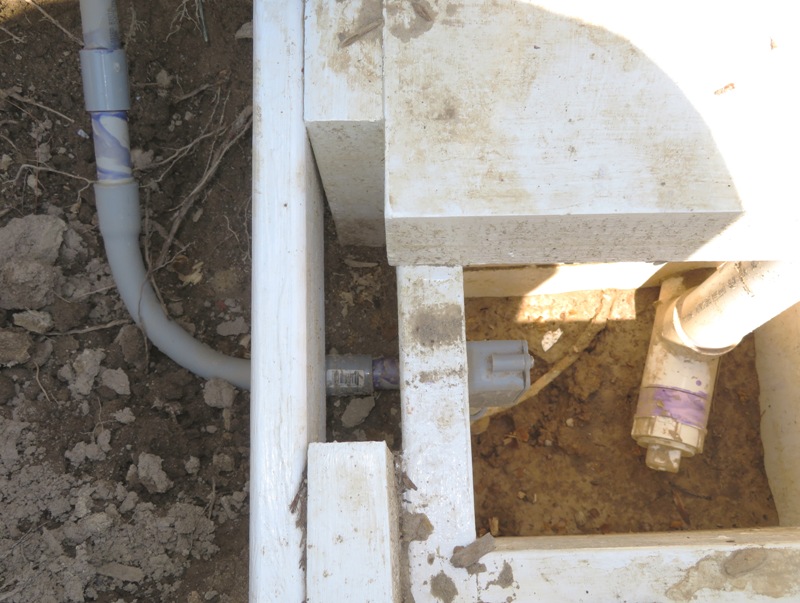
I used silicone to keep moisture from entering the conduit. The conduit then ran outside the well and outside the garden border.
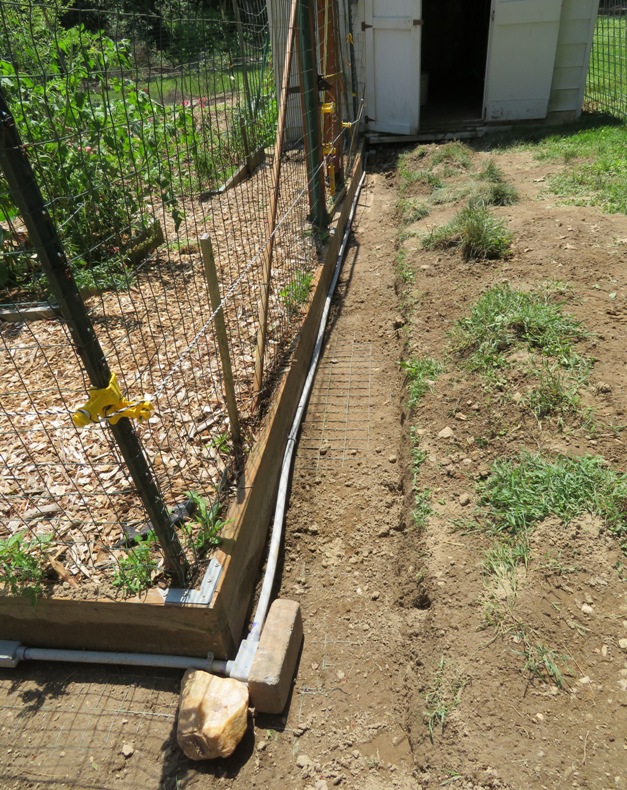
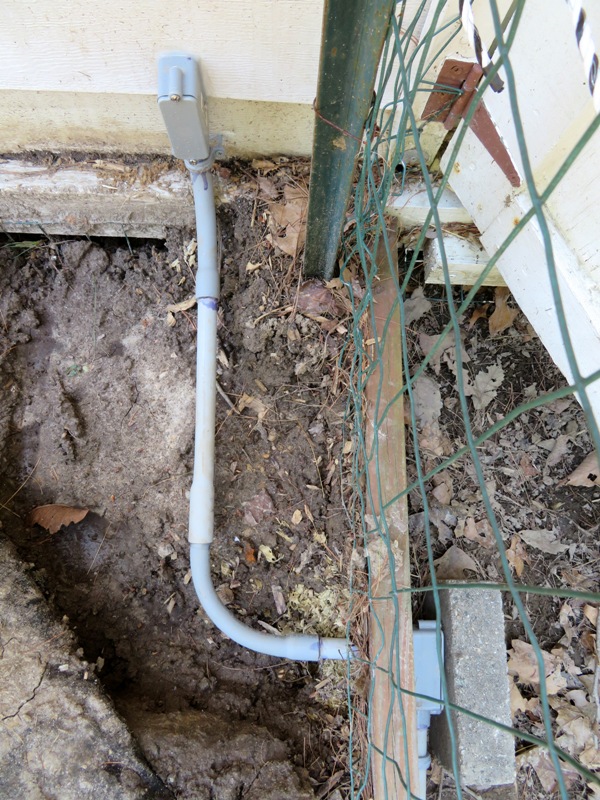
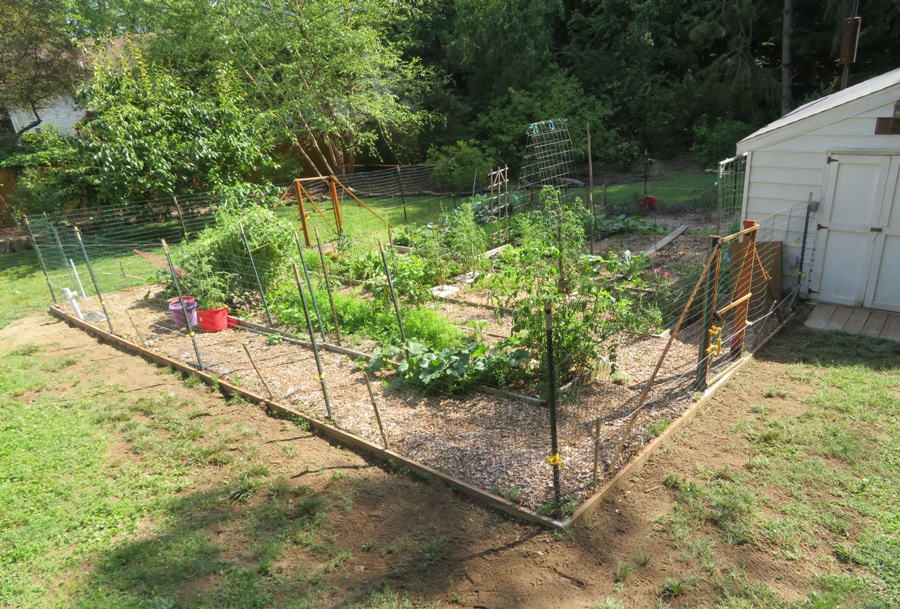
In November and December 2017, I built a groundhog-resistant fence to protect Norma's 1420 square foot back yard garden. This fence is five feet above ground, about a foot underground, and has a 2.5 foot section that runs parallel with the ground to discourage groundhogs from digging under the fence. When I installed the conduit, I dug until I hit the 2.5 foot section that runs parallel with the ground and attached the conduit to the lowest part of the garden border.
Running along the garden border gave the conduit something sturdy to rest against. By digging down, the conduit would be covered with dirt once my job was complete. I used bricks or large stones to provide additional support for those areas that protrude further out from the garden border than other parts.
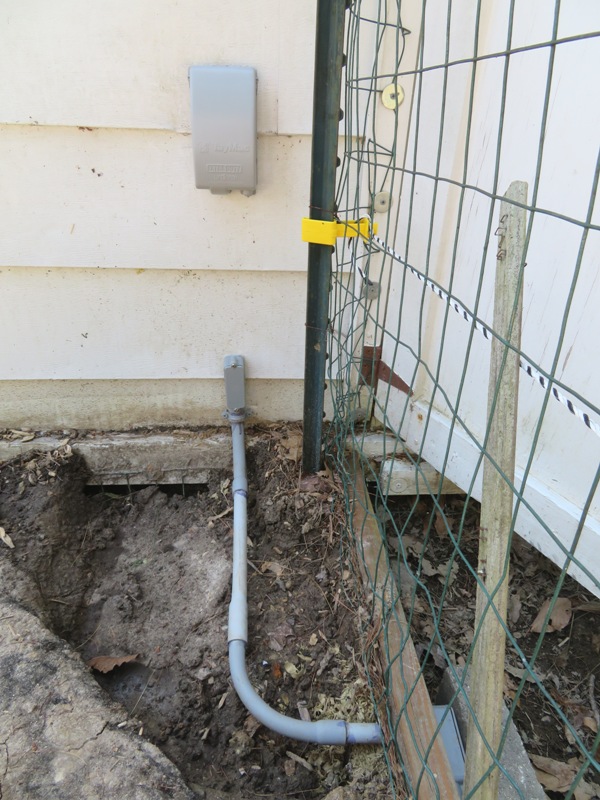
In the snapshot below, the conduit passes to the interior of the garden border near the shed before entering it just south of the double door.
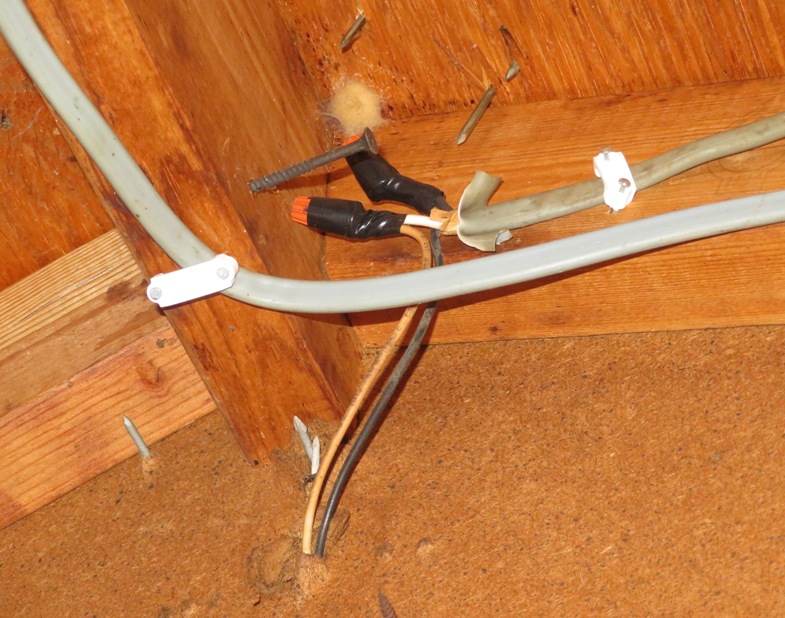
Here's a view the inside the shed.
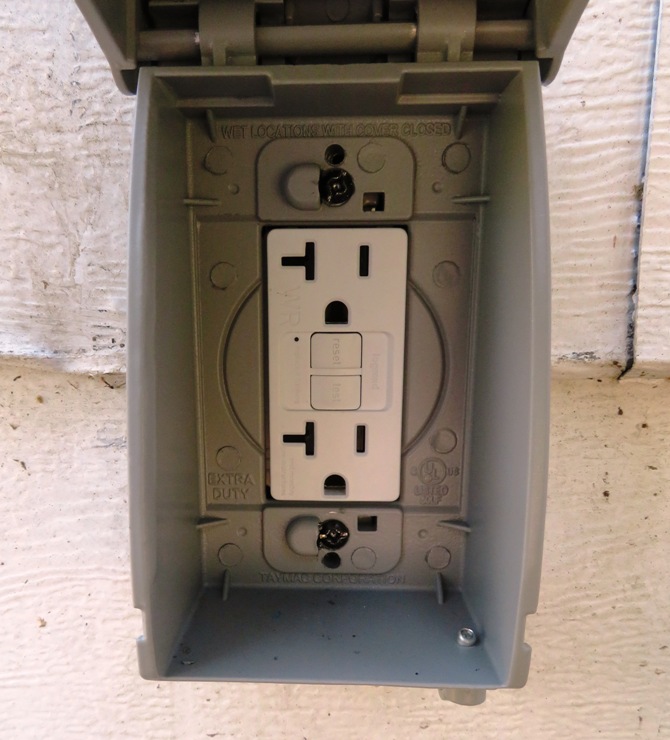
Power is sent to a
Legrand tamper-resistant, weather-resistant ground-fault circuit interrupter (GFCI) 20 amp double outlet which resides outside.
A gray
TayMac MX4280S metal low-profile in-use cover protects this outlet from the weather.
Load cables deliver power from the GFCI downstream to power the lights. This means that if the GFCI is tripped, then power would be shut off to both the outlets and the lights.
The exterior light receptacle is one that came with the shed when we bought the house. It wasn't getting power but it worked just fine so I wired into it.
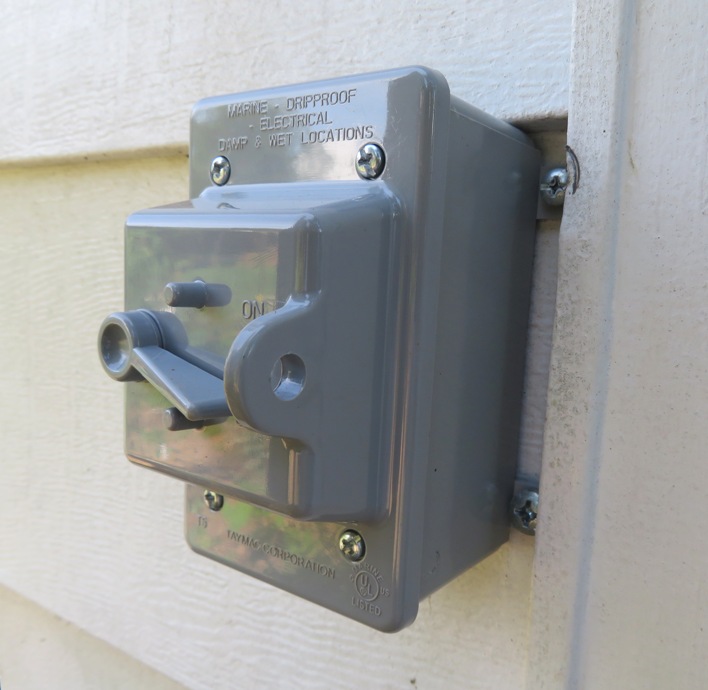
I set up a two-way switch covered by a
TayMac PTC100GY plastic toggle cover for wet locations so it could safely be turned on and off outside. The switch resides in a
TayMac PSB37550GY three hole plastic outlet box for wet locations. I applied silicone caulk around it to provide extra weather resistance.
I installed a switch for the indoor light next to wires which control the outside light. The indoor light is a
Lithonia Lighting 2LL version model MNSL LED strip light.
1 / 3

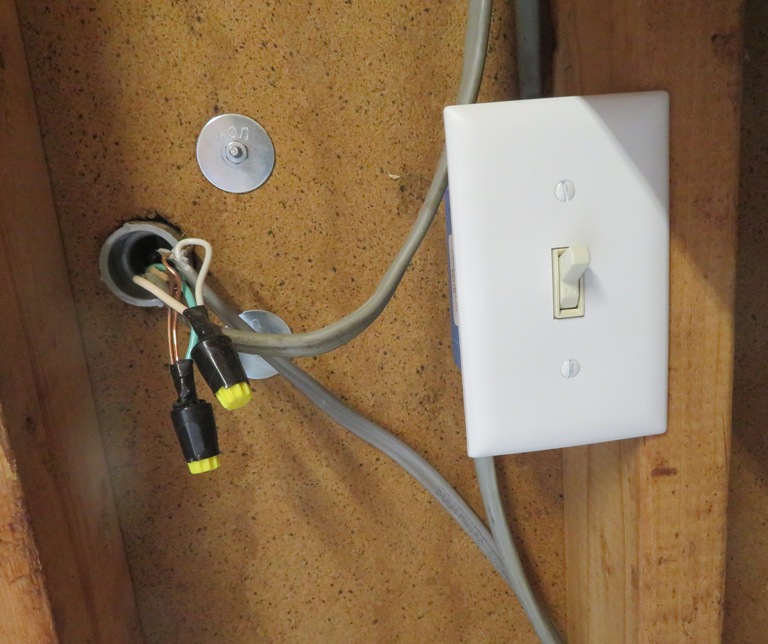
Switch and wires.
2 / 3
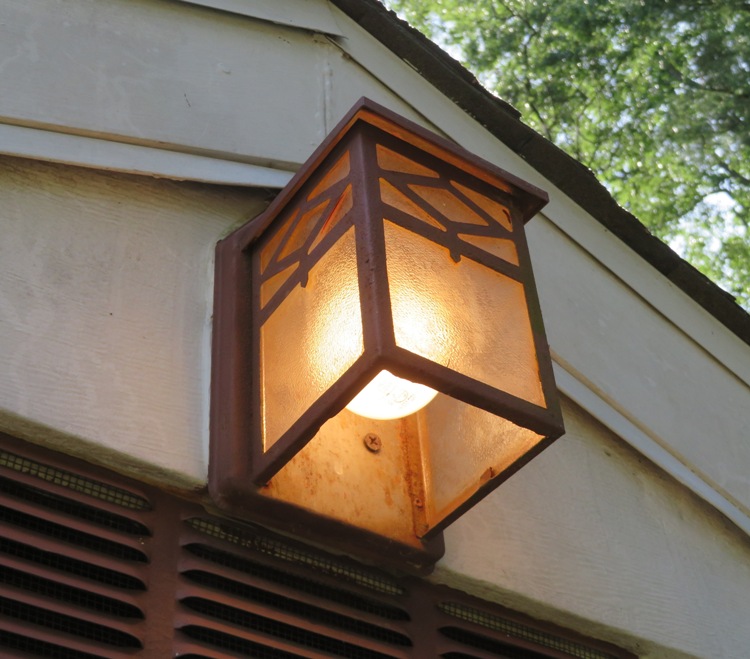
Outside light.
3 / 3
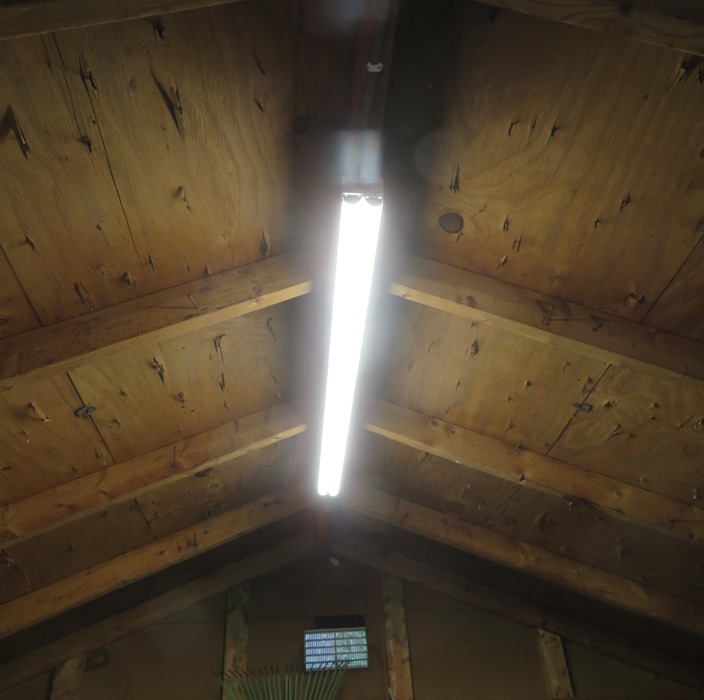
Inside light.
❮
❯
After covering up everything I dug up and completing all the wiring, it was kinda hard to tell that anything was done,
seventh photo, second column.
Electricity now runs about 130 feet from the garage to the shed!
The only problem I had was one PVC connection that was hard to make. Maybe I didn't work fast enough and the cement started to harden. Regardless, the two ends of conduit were not seated as deep as I would have liked. So I reinforced the connection with
FiberFix. I really like this stuff.
How much did all this cost? $59 of the electrical supplies were purchased when I dug the well. After that, I spent another $165 for a total of $224 after tax.
Years later, things work fine. The only problem is that during the summer, ants like to live in the outlet box and they short the circuit. I just wait awhile and then reset the GFCI.