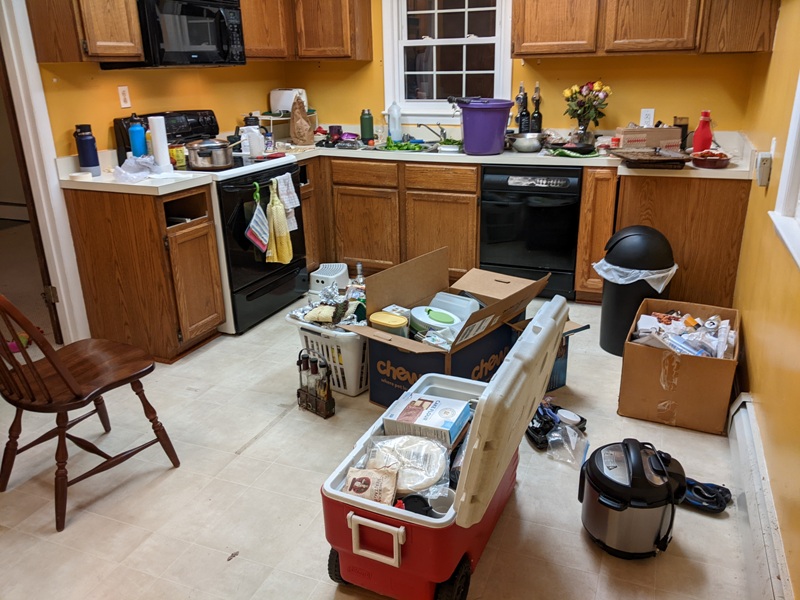
Before any work began, we had to empty the kitchen. This was no small task. We used every box and box-shaped item we could find to empty out the cabinets and move things into the garage.
Next came removal of the existing cabinets. Guys from Clockwork did this. They carried things to the driveway and I stored them in the garage which ended up being packed to the gills.
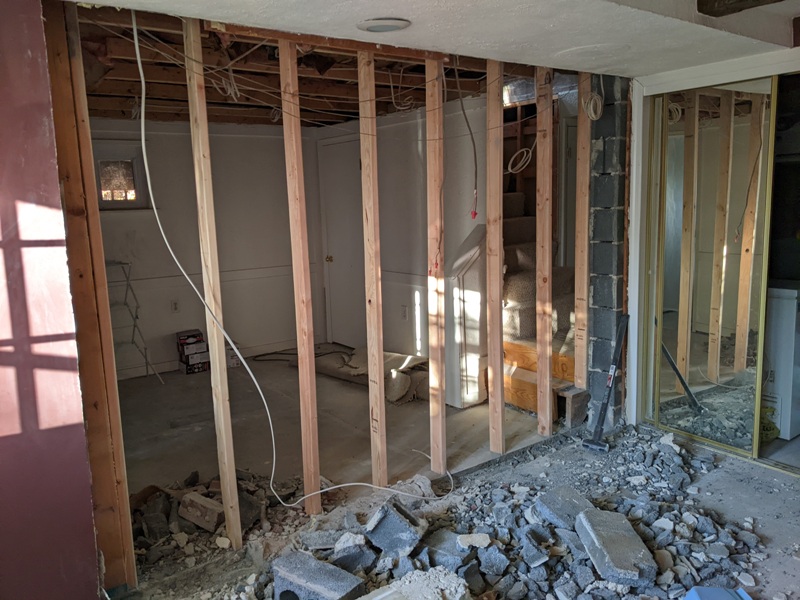
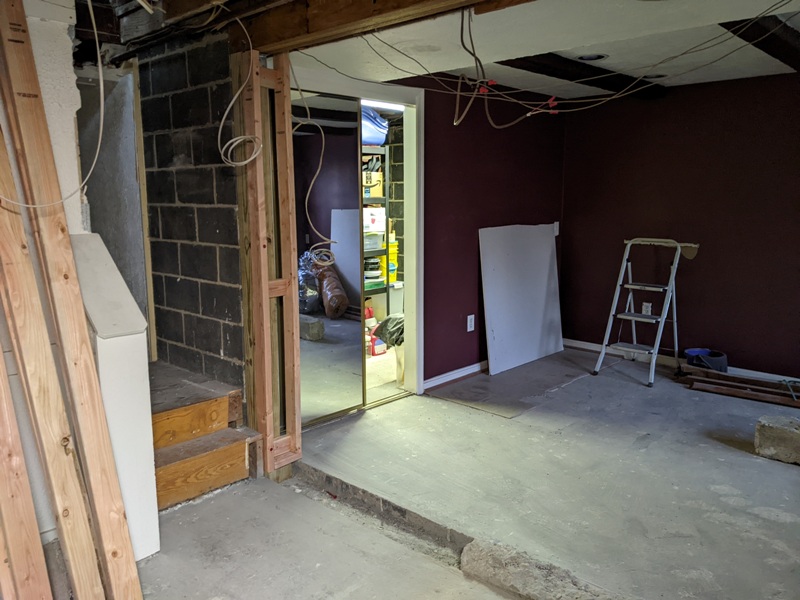
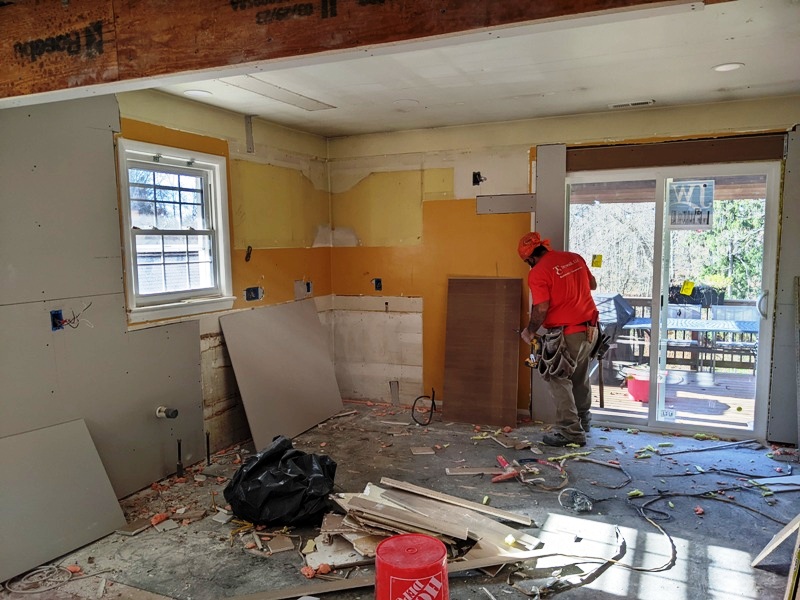
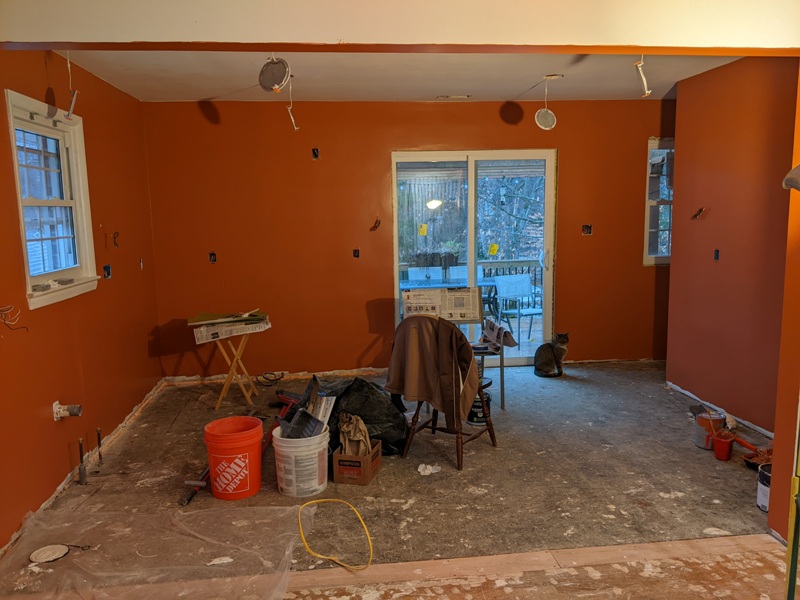
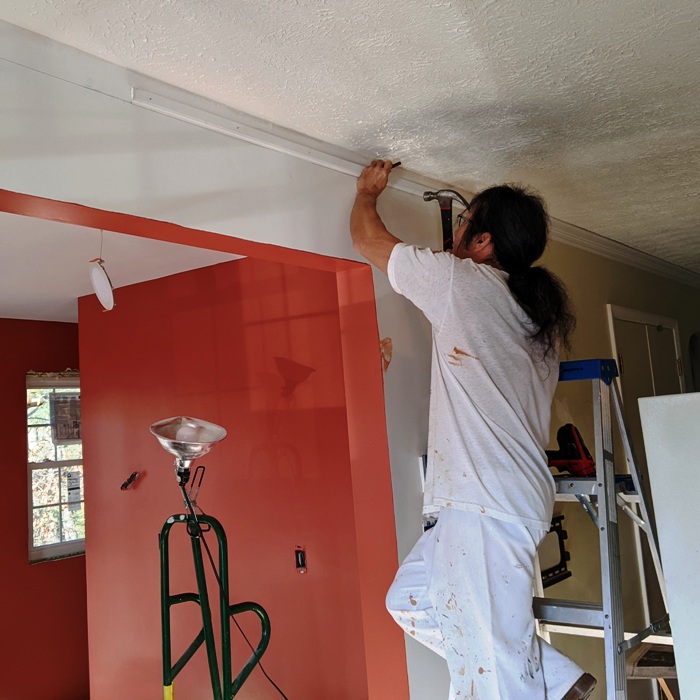
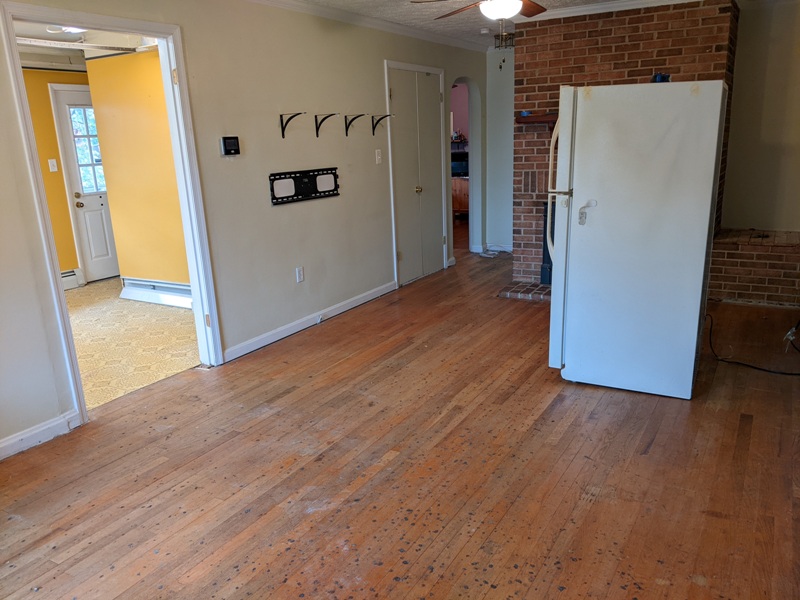
Demolition was a big step. This was something I left to the pros. Dominic and some others started by knocking down the load-bearing wall between the kitchen and the living room. Having this wall removed really opened things up and made the house feel bigger.
1 / 2

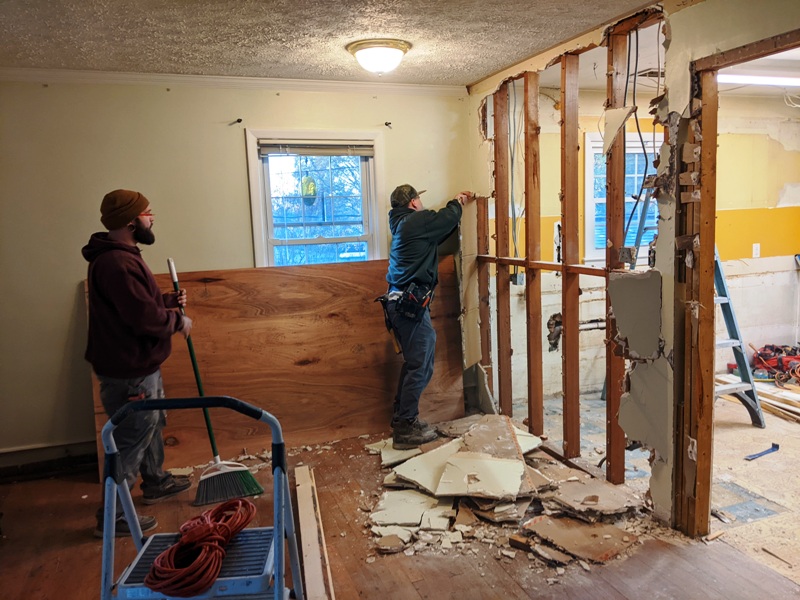
Removing wall, looking southwest.
2 / 2
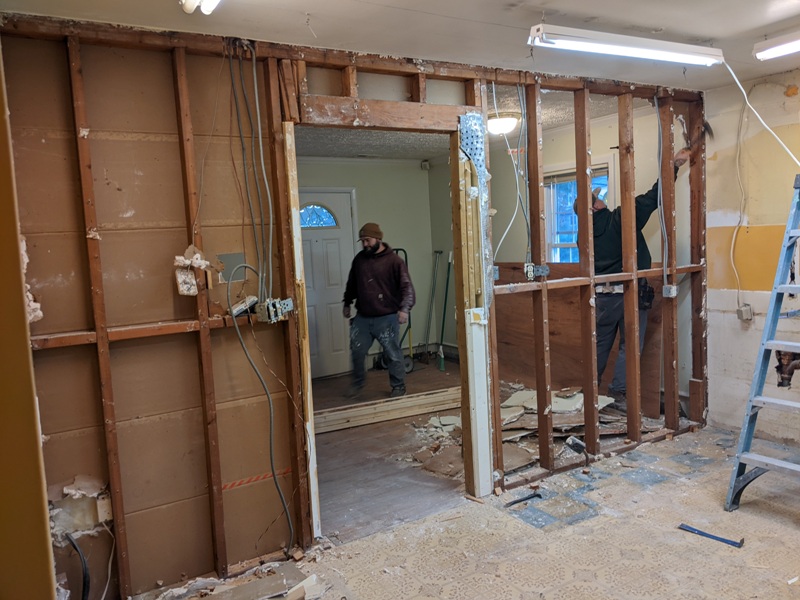
Removing wall, looking east.
❮
❯
Next, they cut out part of the west wall of the kitchen that opens to the deck. This was so they could remove a window and replace it with a sliding glass door that would provide a nicer view of our yard.
1 / 2
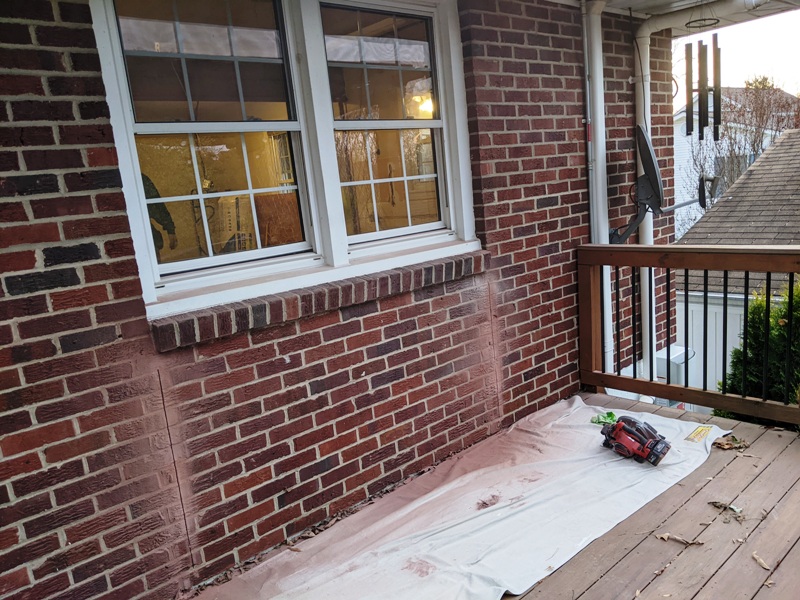
View from deck of cut brick.
2 / 2
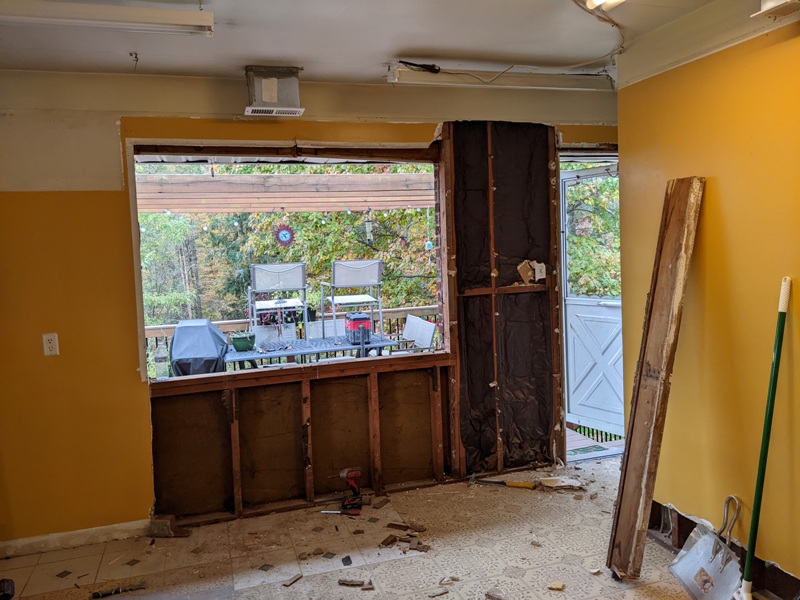
Part of wall removed.
❮
❯
The old door to the deck became a window. We were going to have a dog door put under that but later changed our mind. Even the best ones tend to let a lot of cold air in during the winter.
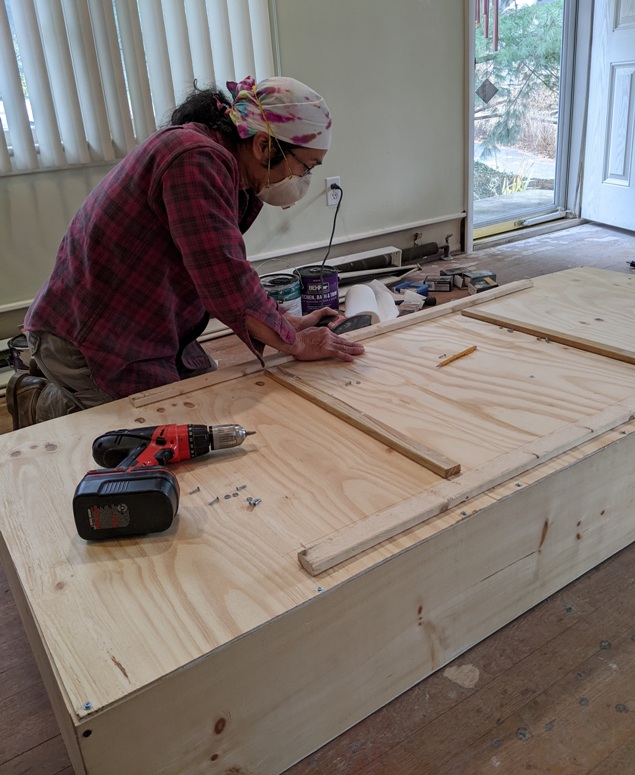
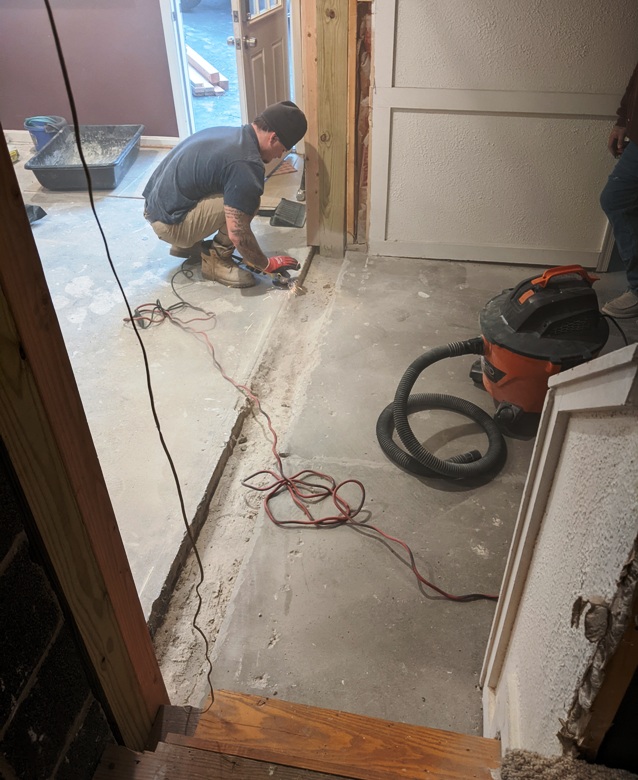
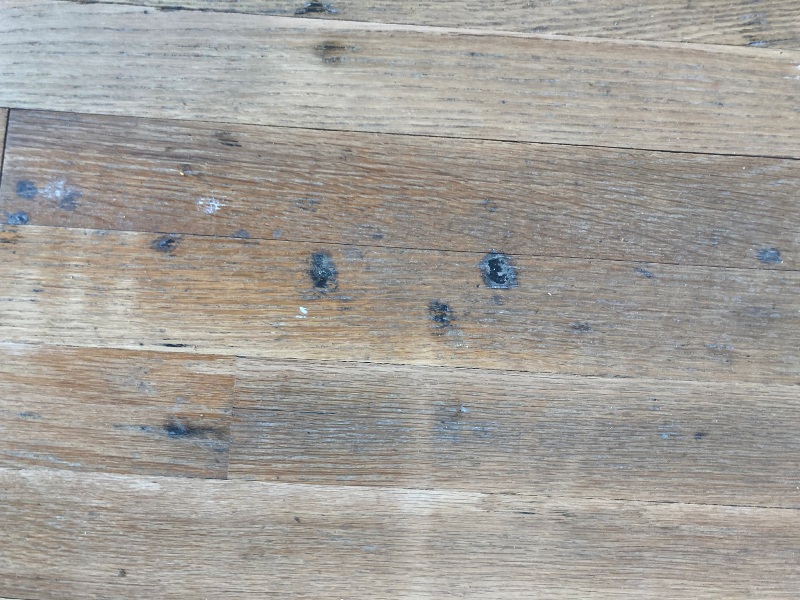
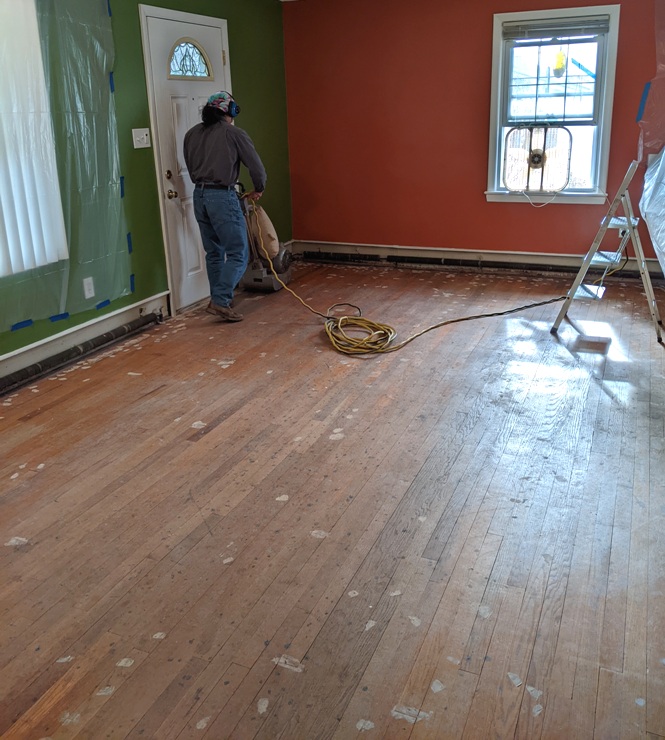
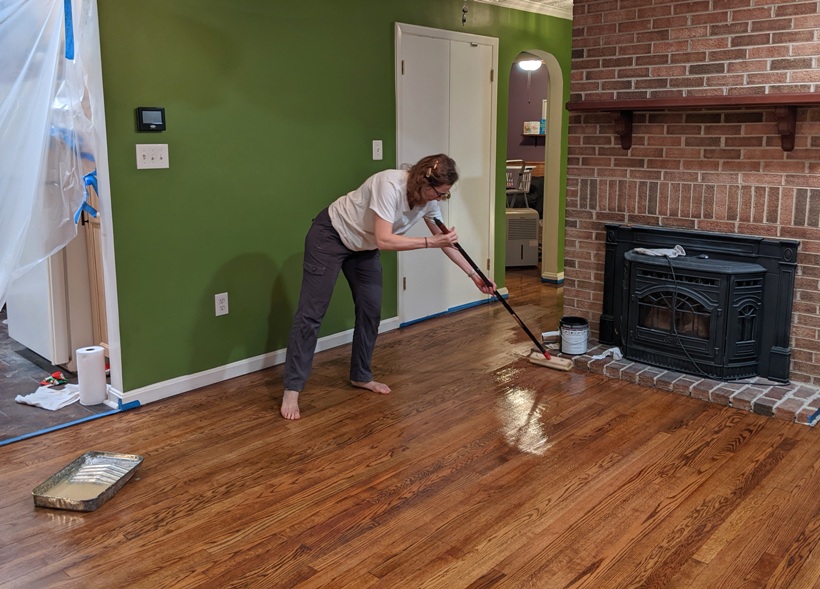
Sheldon removed the old flooring. There were several layers with lots of nails. This was a painstaking process.
1 / 2
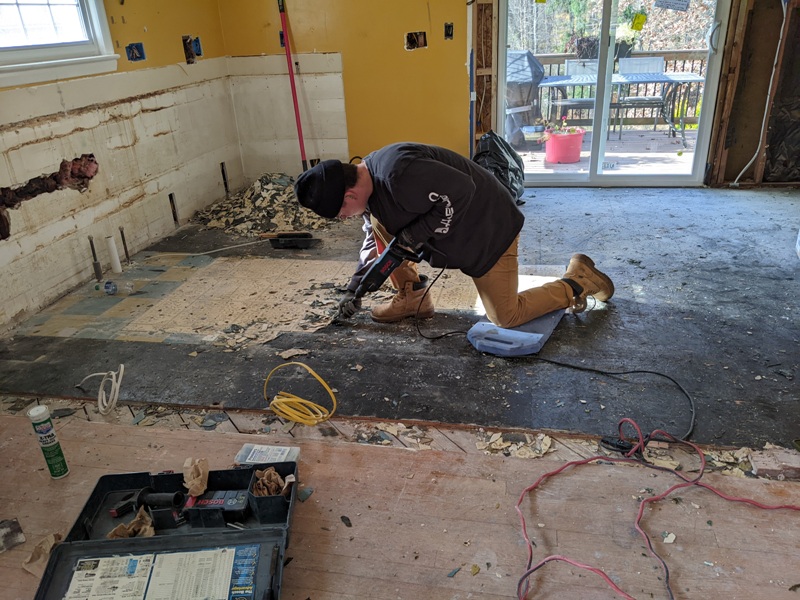
Removing old floor.
2 / 2
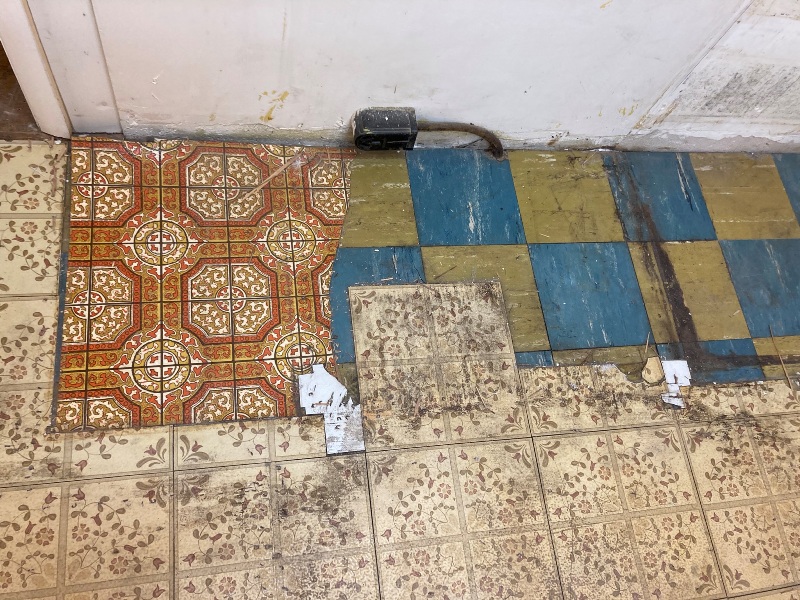
Layers of old floor.
❮
❯
A plumber from
O'Neil Plumbing in Ellicott City came out to redo the drain line in the kitchen. He also worked on the section it connnects to in the basement. The new drain line is bigger in diameter so it meets the current code and it also connects to a soil stack vent in the roof.
About every three or four years, I've rented and used a large electric drain auger to deal with slow water drainage in the basement. Hopefully the improvements the plumber made will prevent me from ever having do that again.
Quite a bit of electrical work was done by Pete of
C.T. Smith Electrical Services and another fellow whose name I don't remember. They removed the fluorescent lighting in the drop down ceiling and replaced it with recessed LED lights. This was a HUGE improvement.
Several outlets were installed along with other lights or rough-ins for lights. In my opinion, we have more light than we need in the kitchen but it is what Norma wanted.
Much of the electric and plumbing work required cutting into the drywall which was eventually replaced...but only where absolutely needed. Drywall that was intact remained up.
Much of the existing drywall in the kitchen was in pretty bad shape. Fortunately, most of it would be hidden behind cabinets. For the parts that would not be hidden, I removed old caulk, chipped away paint that was flaking, and went over paint runs with a sharp chisel to try and flatten things out prior to painting.
Painting the kitchen was not a small task. Norma spent a lot of time on this, cleaning the walls with trisodium phosphate (TSP), putting on multiple layers of primer, and then several coats of paint to hide imperfections and provide a smooth, consistent finish.
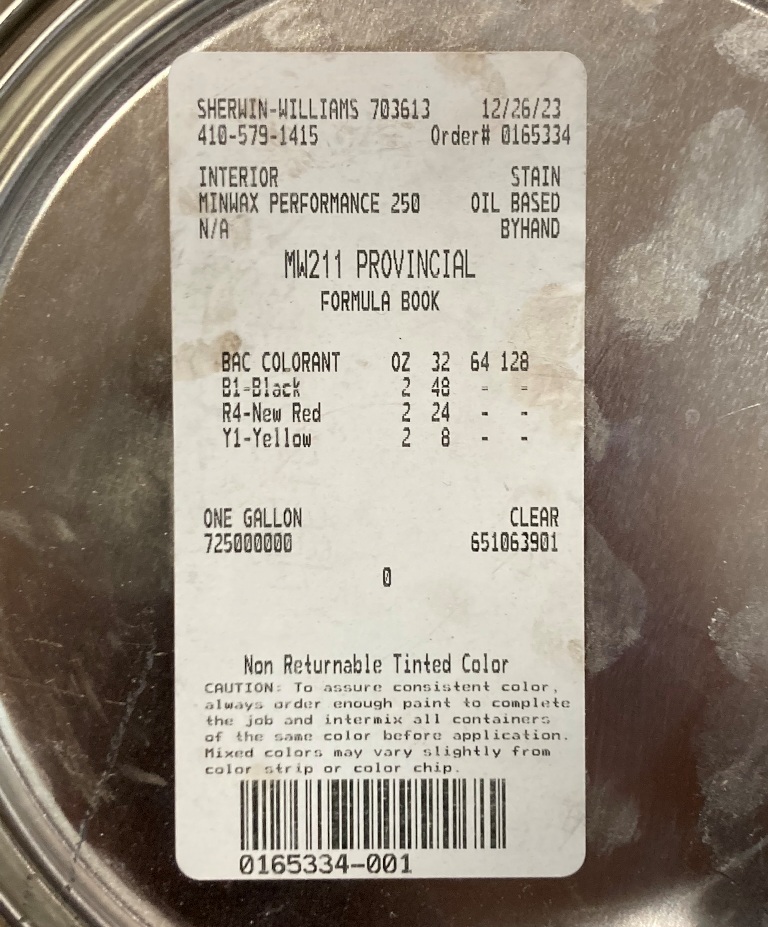
Here is the paint we used in this space:
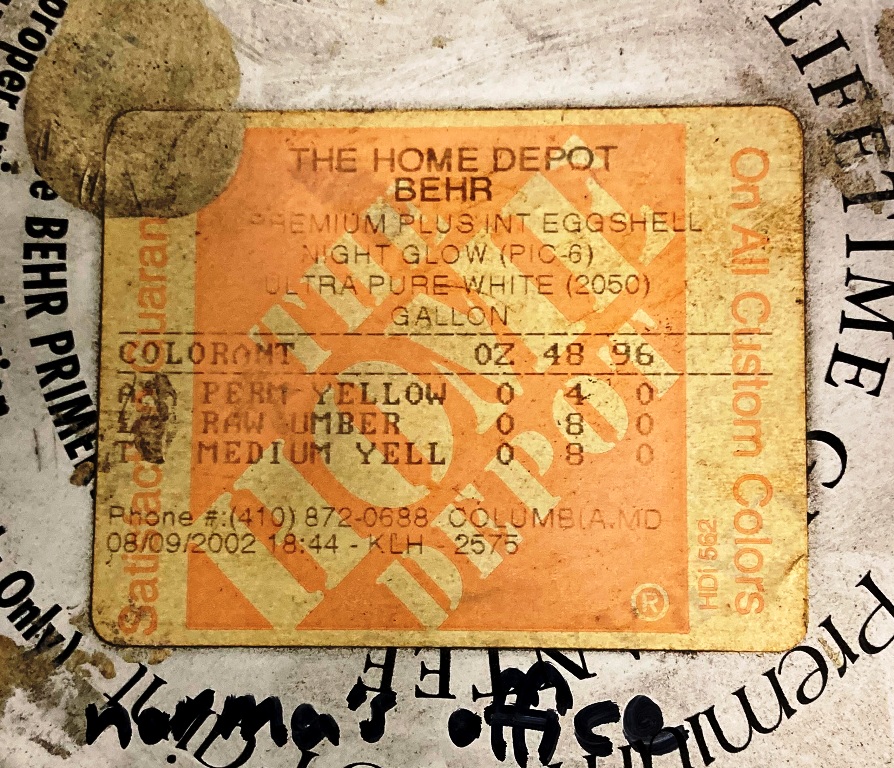
Behr Drywall Plus Primer and Sealer, No. 73: This was used on the ceiling.
Behr Kitchen, Bath and Trim Stain-Blocking Primer and Sealer: This was used on the walls and the trim.
Behr Swiss Coffee in semi-gloss: This uses Ultra Pure White 3050 as a base. This was used on the trim.
Ultra Pure White Ceiling Flat Interior Paint: Used on the ceiling.
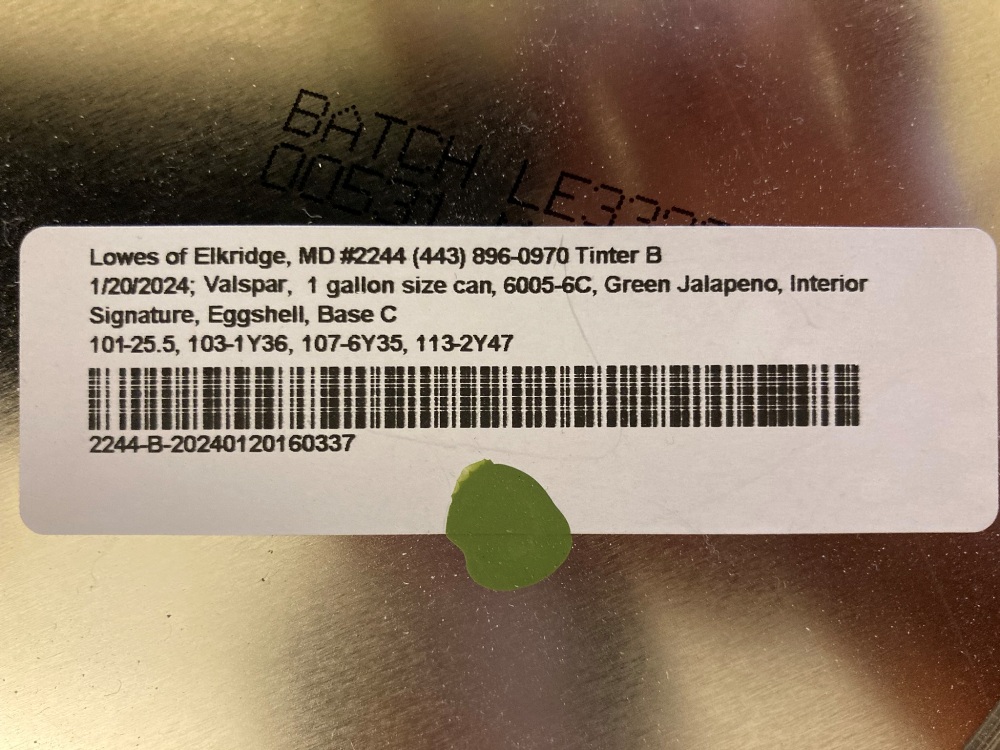
Valspar Signature Colors Waverly Classics Faded Clay WV37013 in satin finish: Used on the walls.
Here's the kitchen with a coat of Valspar Faded Clay, applied by Norma. Notice Chester near the sliding glass door.
In addition to paint, a lot of things had to be purchased to redo the kitchen.
150 Series 31.5-in x 45.5-in x 4.1875-in Jamb Vinyl New Construction White Double Hung Window Full Screen Included: $290.02 at Lowe's
60-in x 80-in Tempered White Vinyl Left-Hand Sliding Patio Door Screen Included: $959.83 at Lowe's. This was a bitch to get home, even with a pickup truck. We had some problems but our good neighbor, Don, came to our rescue on short notice and saved us. A true friend.
Kraus 32" undermount single bowl stainless steel 16 gauge sink, model number KHU100-32: $289.95 from Home Depot.
Moen Reyes 87932BL pulldown kitchen faucet: $169 at Home Depot.
Vadara Sand Weaver quartz countertop from ASSI Fabricators LLC: This cost ~$5,200, which includes installation. We tried not to go "high end" on things but the Sand Weaver design is one that really worked well which we both liked very much. I know a lot of purchases won't increase the value of the home much but this is one that I feel might pay for itself if we decide to sell.
For flooring, we purchased Trucor SPC 12x24 Tile with IGT in Slate Copper (floating floor) from ProSource for $5.24 per square foot. We worked with Andy.
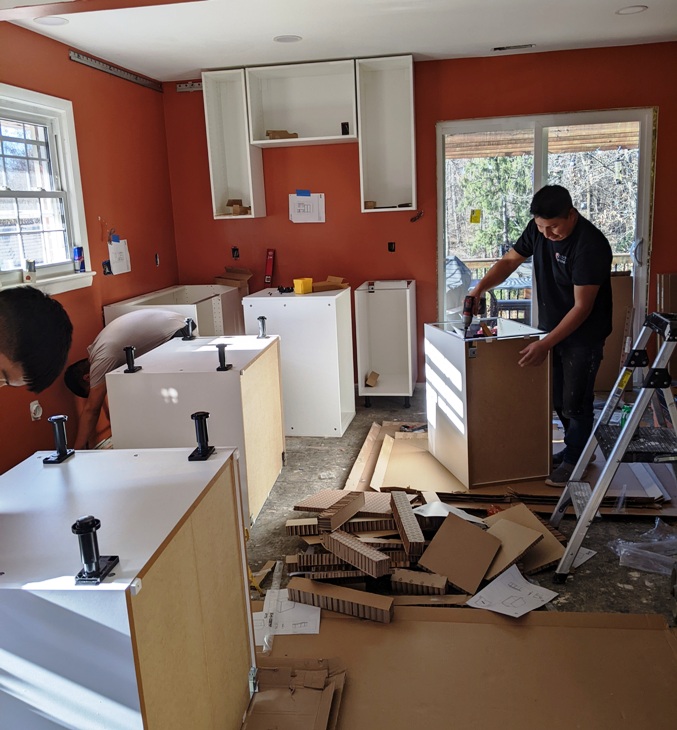
Ikea kitchen cabinets with Vedhamn oak fronts: This cost ~$11k. We also considered ProSource, Lowe's, Cabinet Discounters, and Home Depot. We worked with Tanya at Home Depot and placed an order for American Woodmark cabinets that cost ~$9,600. Tanya was very helpful. But the more Norma read and heard about American Woodmark, the less she liked it. They also pushed the delivery date out twice. So in the end, we decided cancel our order, pay more, and go with Ikea.
When the Ikea kitchen cabinets were delivered, over 130 boxes arrived on a day with so much snow, they canceled work for me. The fellow that carried them in was really strong. In the picture below, Chester is guarding them.
Ikea delivers things unassembled. We figured we could save money and put it together ourselves. Our Ikea representative did not recommend this. So we hired
Kitchen Renovation to do this laborious task for ~$3k. This sounds like a lot of money but three guys spent eight hours putting about 85% of the stuff together. These were guys that had done this many times and they worked quickly. It wasn't just putting things together. They had to do various cuts to make things fit. I consider myself fairly handy but after seeing the work they did, I am glad I did not take on this endeavor.
One of the challenges with the Ikea cabinets is that they did not have everything in stock. Norma had to look around to find the different pieces and made several trips to pick things up. They are not good at making things easily available. Because we couldn't get everything, the cabinet installers had to come back later to finish their job. Fortunately, this did not hold back the countertop installers.
Another issue in working with Ikea was dealing with their billing department. We were supposed to get a refund for stuff that wasn't delivered and it took a lot of effort on our part to ensure we received this. It took a few weeks to get this resolved with Norma frequently reaching out to them. In the end, they gave us a gift card, rather than an actual refund. They claim to have tried to reach out to us but that is just B.S. I'm not criticizing their products, but the way they do business leaves much to be desired.
A new 220-volt outlet was installed. The old one had three pins while the new had four. This required us to purchase an
HDX 6 ft. 6/4 50 Amp 4-Prong Range Power Cord for $38.33 plus tax. I removed the old cord and installed this one. Doing so was quite easy.
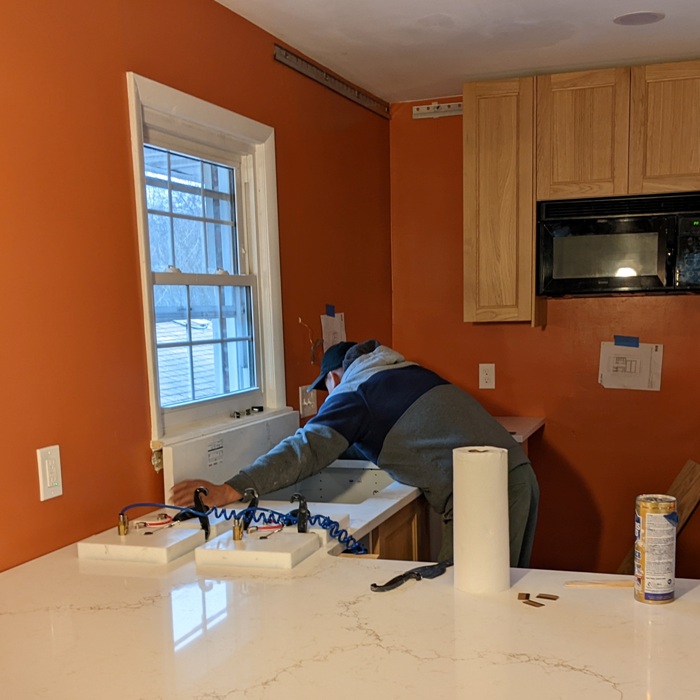
After the first round of cabinet installation, people from ASSI came out to take measurements to install the Vadara Sand Weaver quartz countertop. For an extra charge, they had the quartz backsplash extend to the stool of the window above the kitchen sink. This required me to remove the window apron, an easy task. The reason Norma chose the extension is because with our previous kitchen, the top of the backsplash (a horizontal surface) above the sink was always filthy.
The picture below shows two large pieces of quartz being joined together using a machine. In the background, you can see a guy fitting the backsplash below the window.
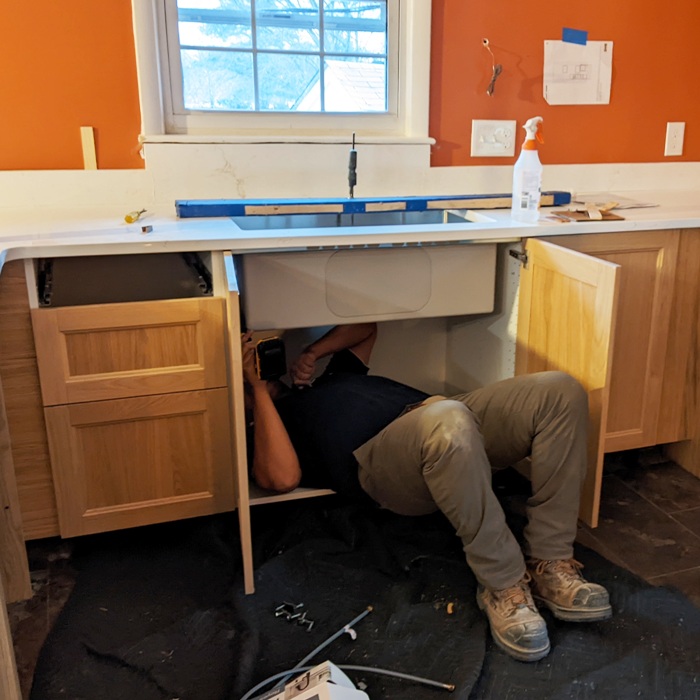
Next, they installed the sink. Three holes were drilled into the countertop for the faucet, soap dispenser, and filtered water faucet.
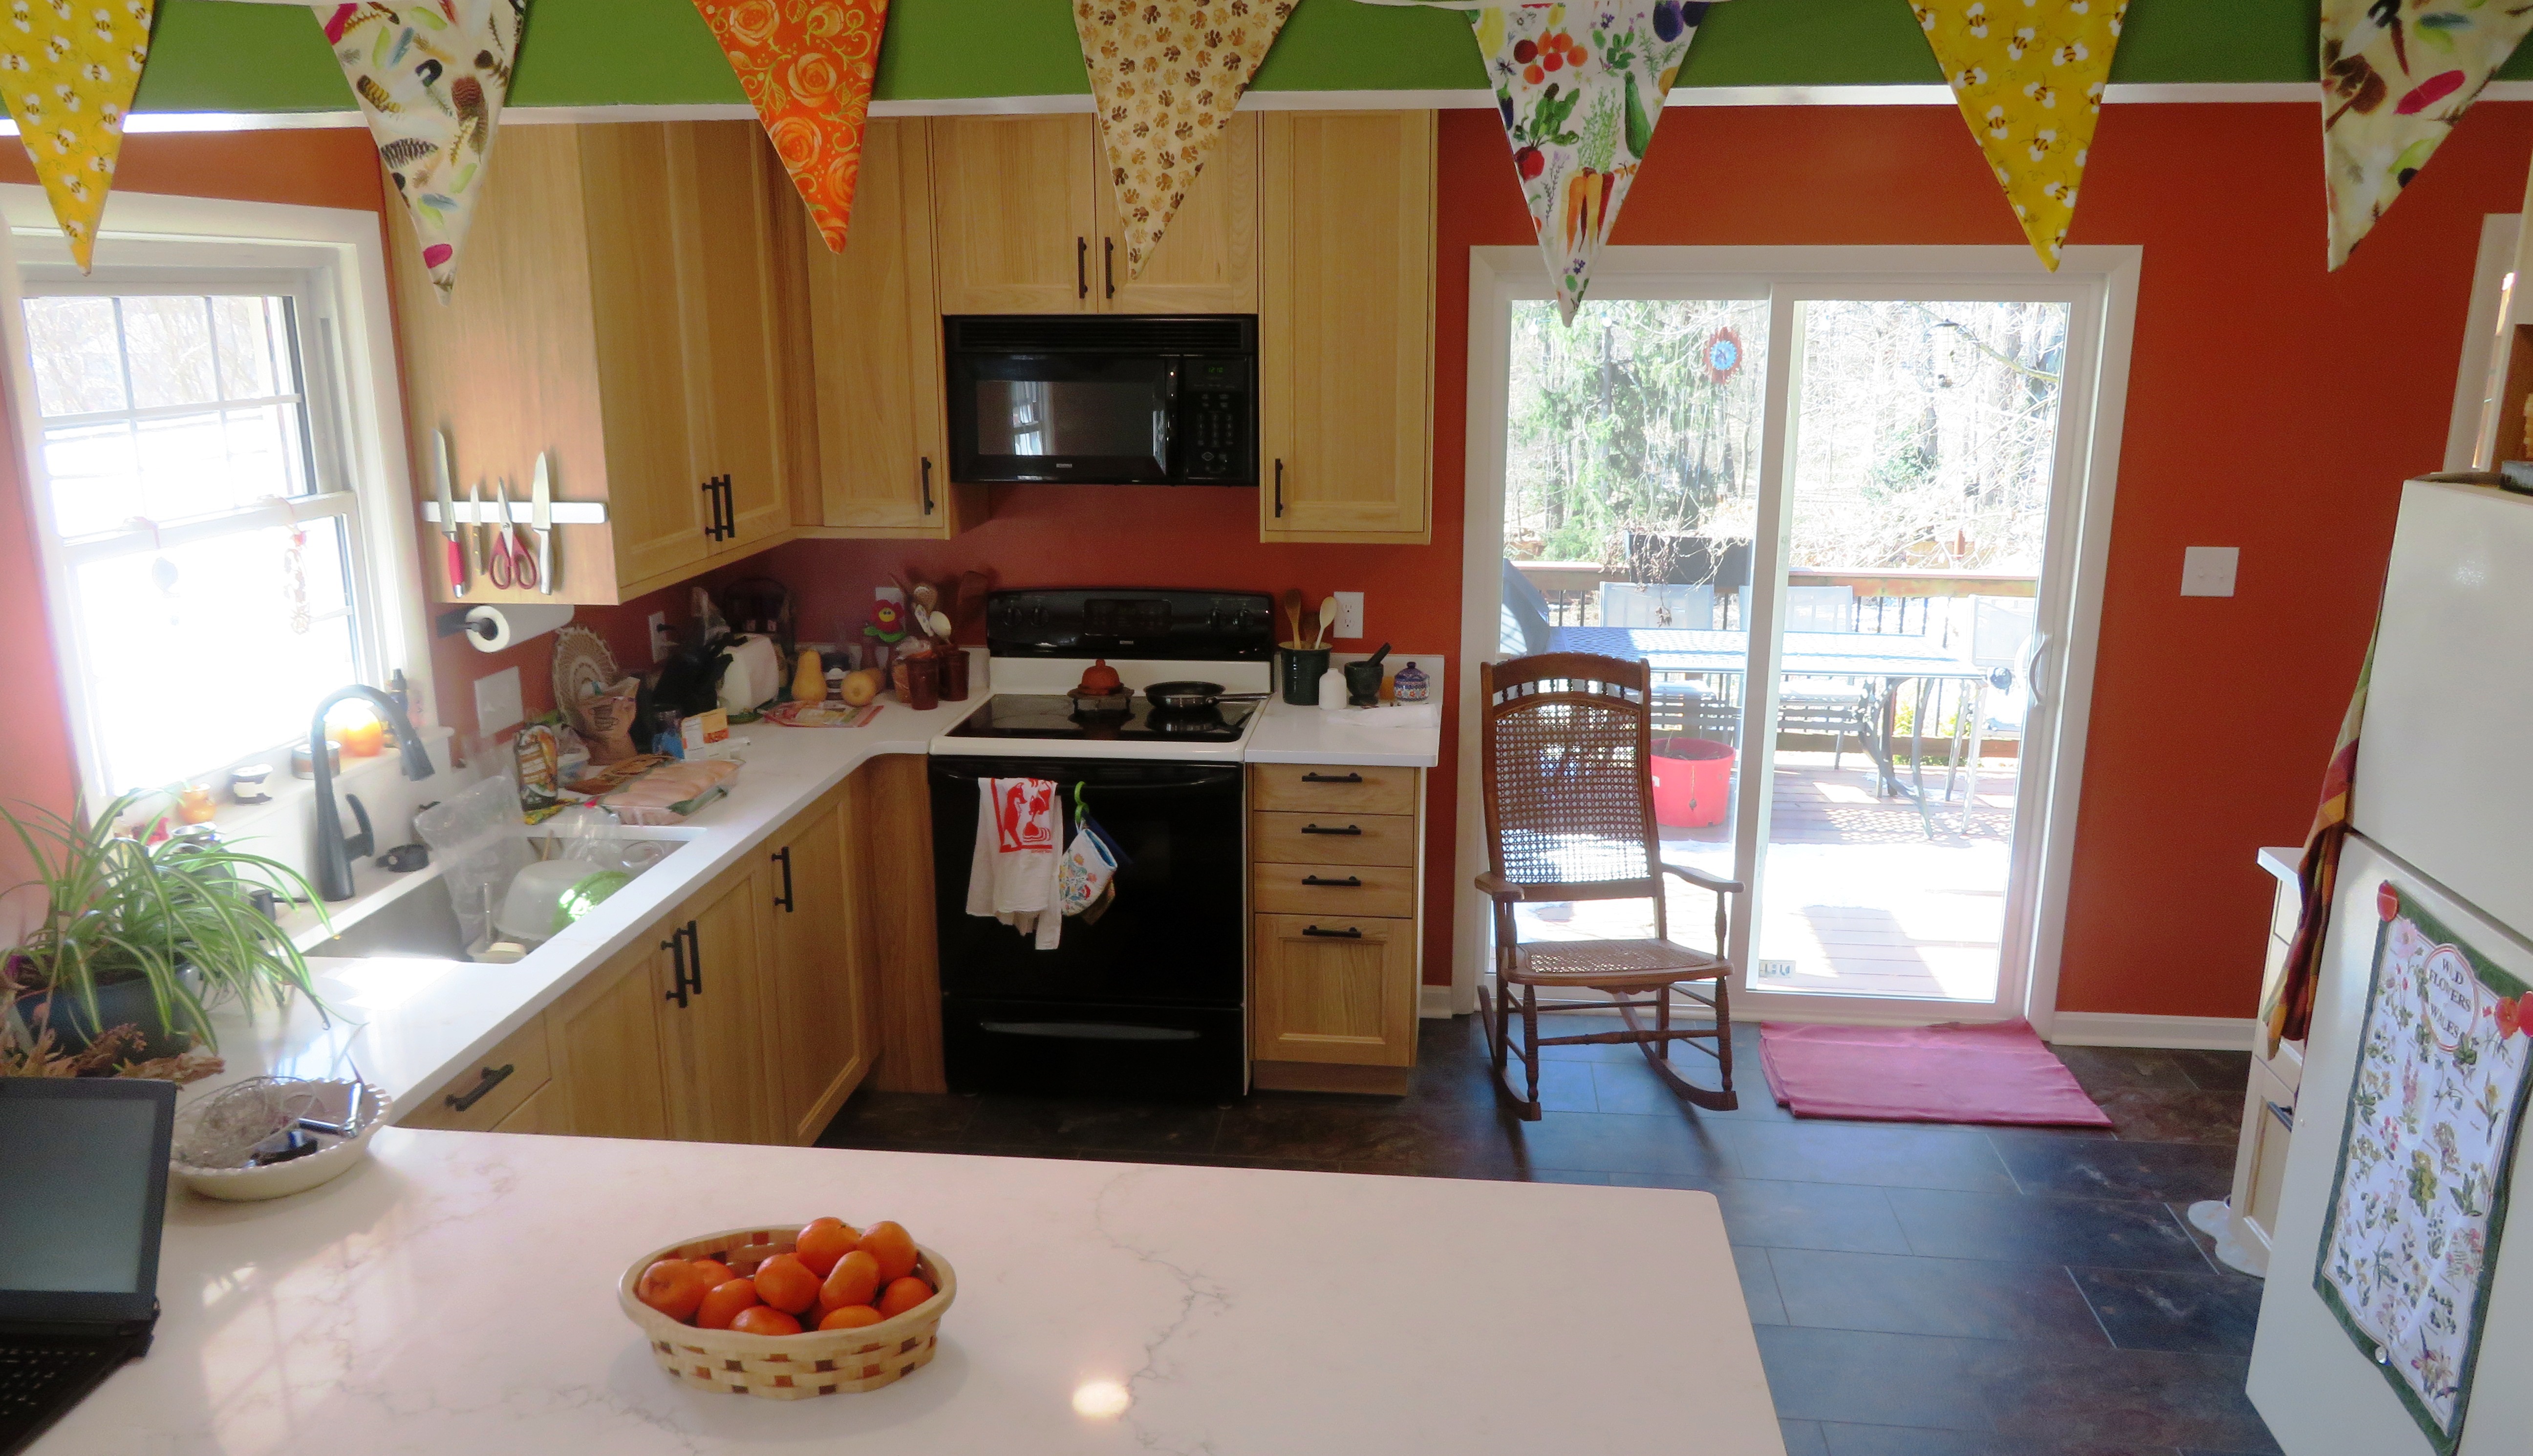
In my opinion, the countertop made a nice transition in color between the oak cabinets and the Faded Clay paint.
On the peninsula, Norma had the countertop extend 12 inches east and 10 inches north so folks could sit at it on high chairs or stools with their legs underneathe.
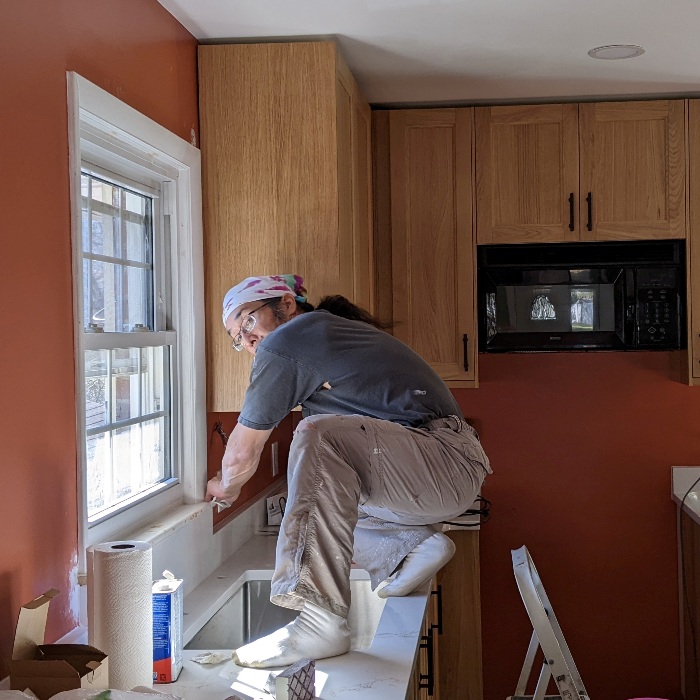
The countertop and cabinet installation was complete on February 1, 2024. After that, I got things cleaned up around the window above the sink. This required some patching and painting. Since Norma would see this almost every day, I wanted it to look especially nice.
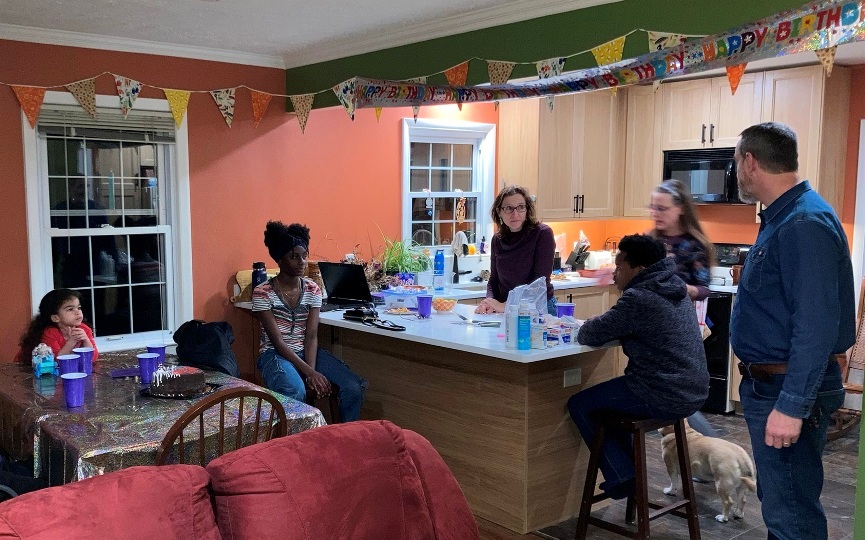
Here's the kitchen being put to good use on February 18, 2024.
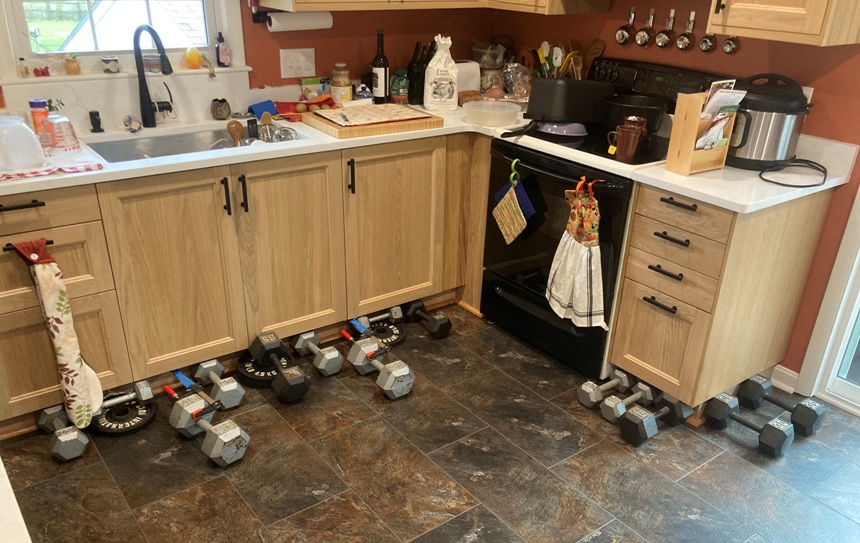
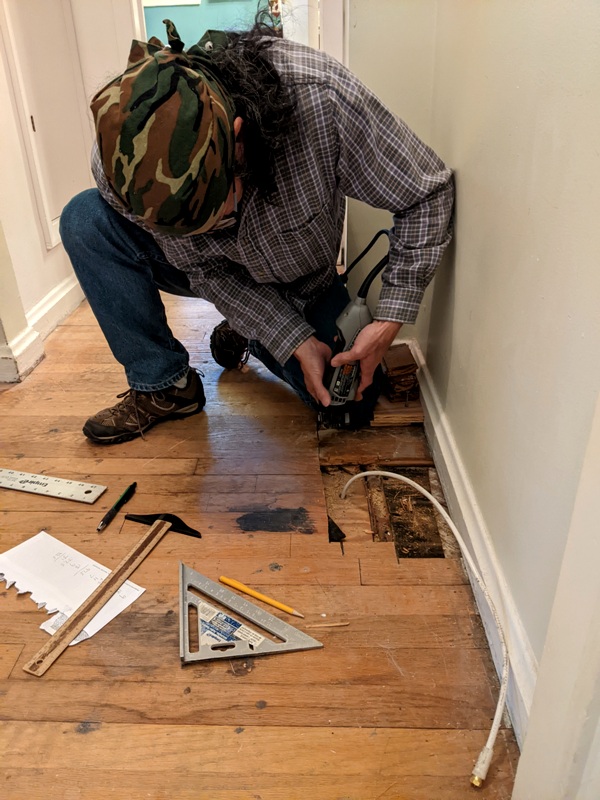
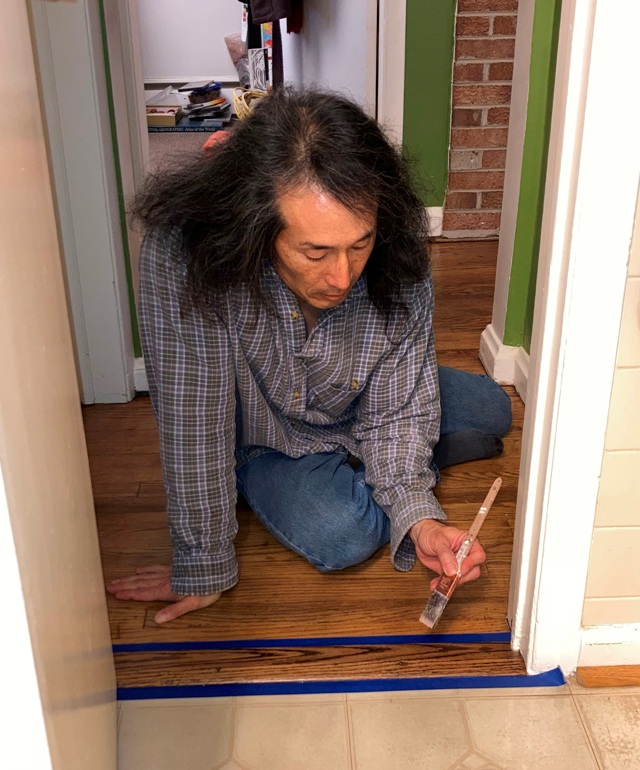
I installed quarter round moulding to conceal the gap between the floor and the cabinets. I used 1.5-inch long, 18-gauge brad nails with a nail gun to attach things to the cabinets when the wall was rigid. We were told that the floor should be free-floating and hence, not be nailed...but nailing into the cabinet walls was fine. Rigidity was not the case when a thin, flexible kickplate hid the space between the floor and the cabinets. When this occurred, I used
LocTite PL Max Premium to attach the quarter round to the kickplate. LocTite was also used to attach the threshold to the Trucor SPC tile flooring. In the below pic, I am using whatever I can to ensure the quarter round makes good contact with the kickplate while the LocTite dries.


